Actual Camera Development
Camera mode decodes and develops the source through LibRaw instead of renaming a file or extracting only its embedded thumbnail. The result is a display image, not an attached sensor file.

Develop supported camera RAW or import explicit RGB/BGR pixels into PDF.
Drop files here or use the button below.
Up to 100 MB total · Files stay on your device
Preview the document here. For added content, this is a placement guide; check the saved output.
Choose between two distinct input modes. Camera mode uses a bundled LibRaw decoder to develop supported sensor files into an 8-bit sRGB image. Headerless mode reads the exact three-channel RGB or BGR layout you specify.
Camera compatibility depends on its model and compression, not the extension alone. Headerless bytes contain no dimensions or channel description; obtain those values from the program that created them.
Camera mode decodes and develops the source through LibRaw instead of renaming a file or extracting only its embedded thumbnail. The result is a display image, not an attached sensor file.
Headerless mode accepts three interleaved 8-bit channels with no header and no padding. Exact byte-count checks catch many incorrect dimension or layout choices before a PDF is created.
Choose full or half width and height, with the camera-recorded or decoder daylight white balance. Half size reduces output pixels and memory use.
Choose A4, US Letter or image-sized paper and add suitable margins. The developed or imported image keeps its proportions when fitted to the page.
Choose the camera file or documented headerless pixel file.
Select the screenshot to enlarge it.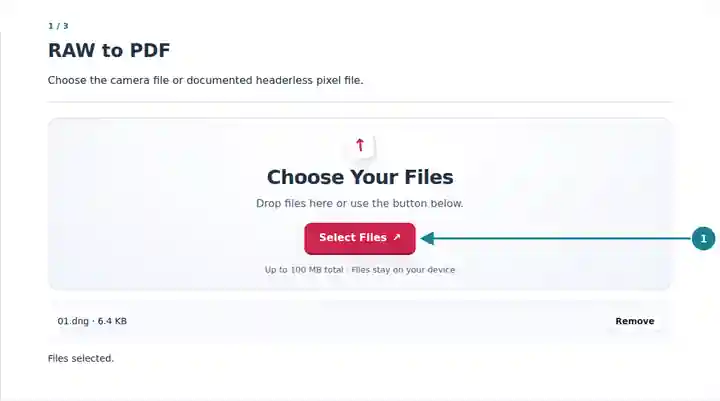
Use camera controls or enter the exact headerless image layout.
Select the screenshot to enlarge it.
Download the image PDF and check its appearance.
Select the screenshot to enlarge it.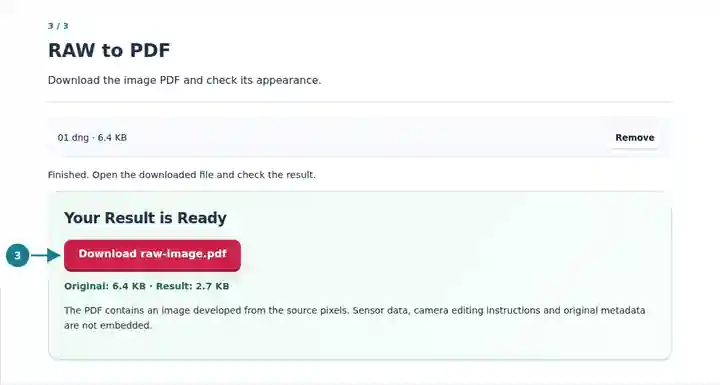
Screenshots show this toolkit using harmless sample files. Your file name, page count and settings may differ.
A PDF provides an image reference for someone without a camera editor or custom pixel importer. Camera mode applies basic development rather than reproducing every adjustment from a manufacturer application. Headerless mode helps review a known image buffer. Neither mode embeds original sensor data or editing instructions.
Prepare a viewable image reference from a supported camera file while retaining the RAW as the photographic master.
Inspect a documented RGB/BGR buffer as a PDF page and check channel order visually.
Share a developed sample or rendered raster result without requiring the recipient to interpret the source format.
| Setting | What to Expect |
|---|---|
| File Size | One input file up to 100 MiB. |
| Camera Limits | Up to 50 megapixels of stored sensor data and 24 megapixels of developed output. Half size is the default. |
| Headerless Limits | Up to 24 megapixels; exact positive integer dimensions, three 8-bit interleaved channels, and no header or padding. |
| Camera Coverage | Supported DNG, CR2, NEF, ARW and other accepted camera formats depend on the compiled decoder and the particular compression used. |
Extract the ZIP created by PDF to RAW and open layout.json. Choose the corresponding .raw file, select headerless mode and copy that entry’s width, height and RGB/BGR order into the controls. Use image-sized paper with zero margins if you want a page whose physical image dimensions follow the selected image DPI.
| Situation | What to Check |
|---|---|
| The camera file is not supported | Check that it is complete and genuinely a camera RAW. A supported suffix can still contain an unavailable model or compression. |
| Headerless byte counts do not match | Verify width × height × 3 against the file size. Remove assumptions about headers, padding, alpha or 16-bit samples. |
| Full-size camera output exceeds the limit | Choose half width and height. This creates one quarter as many output pixels, although the sensor data must still fit the input limit. |
No. It unpacks and develops the sensor image through the bundled decoder. Unsupported decoding produces an error rather than a preview-only substitute.
The selected white balance and LibRaw development are not the complete set of camera profiles, lens corrections and creative adjustments used by every editor. Compare the result before relying on it for color-critical work.
No. It requires explicit width, height and channel order. A matching byte count helps verify a layout, but several different dimensions can produce the same count.